Filters
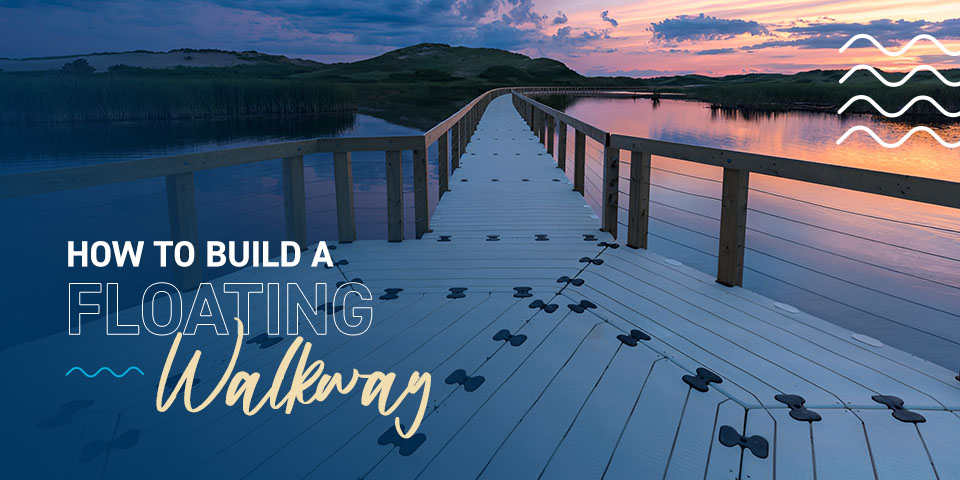
How to Build a Floating Walkway
Floating walkways offer a more flexible, less invasive alternative to fixed docks while expanding opportunities for your waterfront property — and EZ Dock makes it easy with our innovative solutions, including the EZ Trail® floating walkway system. Let’s explore how to make a floating walkway and some key considerations.
What Is a Floating Walkway?
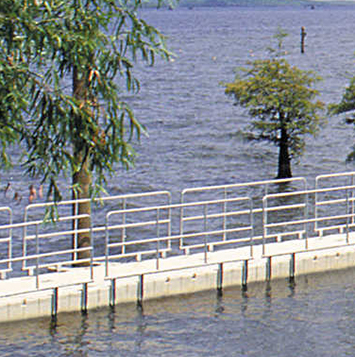
Floating walkways are just as their name suggests — a type of floating sidewalk that rises and falls with the water. They use a buoyancy and flotation system that lets them remain fixed while offering the versatility of adjusting to the water level and changing currents. Unlike fixed docks, they’re portable and much easier to install or relocate. One of their biggest advantages is that they’re minimally invasive to their surroundings compared to traditional docks and gangways, which is safer for wildlife and ecosystems.
You’ll find floating walkways in many different residential, commercial and even industrial settings. Some common applications include bridging land and waterfront for easy access to boat, kayak and canoe launches and acting as on-the-water trails at places like zoos, harbors, parks and marinas.
Step-by-Step Guide to Building Your Floating Walkway
Interested in adding a floating walkway to your private or public waterfront property? Material requirements vary depending on your location and the type of walkway you choose, but some general items to have on hand include:
- A carefully planned design.
- Building materials, such as water-resistant fasteners for the frame and decking.
- An anchoring and mooring system, if necessary, for locations with a strong current.
- Accessories like guardrails, lighting and launches.
- All necessary local permits.
- Supplies for ongoing care and maintenance.
Here’s what you need to know to get started:
1. Planning Your Floating Walkway Design
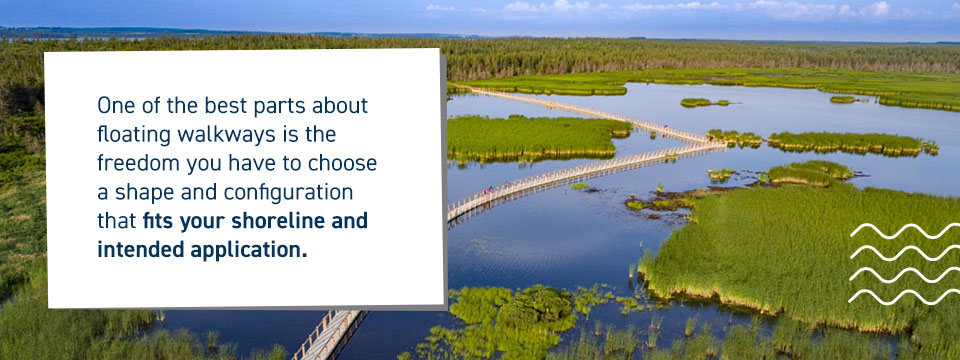
One of the best parts about floating walkways is the freedom you have to choose a shape and configuration that fits your shoreline and intended application. Just be sure to have a well-prepared design laid out before you start working — this makes it much easier to anticipate and mitigate potential issues and make the most of your budget.
Here are a few things to consider:
- Planned use: Will the walkway be used for more recreational and leisurely activities, or is it simply a bridge between the shore and water or to provide dock access? What kind of foot traffic and wear and tear do you anticipate? These questions will help you choose the right size and layout for your walkway. Some popular configurations are L-shapes, T-shapes and U-shapes.
- Site location: Note the key characteristics of the shoreline and water, including water depth, wind patterns, shorebed type, tidal fluctuations, the presence of currents and the water’s salinity and flow. Mark where structural elements will be located to distribute weight evenly across the walkway, and consider additional bracing if you’re in an area prone to hurricanes or other extreme weather.
- Material: Both private and public properties benefit from lightweight, low-maintenance dock materials. Plastics like linear low-density polyethylene offer incredible durability, and EZ Dock walkways come with open pylons along the bottom to provide unmatched stability compared to other floatation options. You can also find wood or metal dock materials, but they come with more maintenance.
- Design flexibility: Modular configurations are the ultimate choice for flexibility and portability, as you can change the shape and size whenever you’re ready to move or expand.
- Adjoining structures: Consider any adjoining structures and where they will meet the floating walkway, including other docks, gangways, boat or PWC launches or stationary platforms.
- Required permits: Contact your local governmental offices to see which permits are required to establish a floating walkway on your property. Many shorelines are protected and not suitable for disturbance, and some neighborhood organizations may forbid additional structures. Secure all necessary permits well before starting construction to avoid any delays.
2. Assembling the Walkway Structure
Assembling a floating walkway using wooden planks and deck pieces individually is labor-intensive and disruptive to the natural environment. Modular walkway pieces require much less manual labor for assembly and create fewer environmental disturbances. They also have easy assembly and are connected by rubber couplers that are both strong and flexible.
3. Anchoring and Mooring the Walkway
An anchoring and mooring system keeps your walkway in place. Your anchoring method depends on the substrate type and condition as well as:
- The local climate and potential ice movement
- Water depth and current movement
- Anticipated foot traffic
- Additional loads from adjoining structures or recreational accessories
Mooring systems are crucial if you live in an area prone to extreme weather and strong currents, and you may need to incorporate several mooring lines or cables along the walkway for optimal stability.
4. Regular Maintenance Tips
Ensure your walkway’s longevity with these tips:
- Inspect regularly: Inspect your floating walkway regularly, especially after extreme weather and as you enter and exit each season. Note any damages and loose fasteners and repair them immediately. Check that all connections are secure, including the anchor or moor lines.
- Keep it clean: Keep your walkway looking its best by regularly removing dirt, mud, algae and debris buildup. Check that your cleaning solution is compatible with the walkway’s material — polyethylene walkways simply require a light pressure wash with mild soap, but materials like wood will require additional upkeep.
- Make seasonal adjustments: As seasons change, you’ll want to adjust your floating walkway to ensure longevity. With walkways that are removable, you can easily store yours during the off-season or if you expect a hard freeze in the winter.
5. Safety Measures for Users
Consider the following additions to make your floating walkway safer for all users:
- Install adequate lighting: Enhance visibility with lighting for low-light and after-dark conditions, especially near edges and elevation changes.
- Hang signage: Clear, easy-to-understand signage can mark changes in elevation and other potential hazards, as well as any restrictions, rules or guidelines. You can also muse them to indicate where points of interest are, such as launches or ladders.
- Integrate accessibility: Make your walkway more accessible with guardrails and handrails at appropriate heights, ramps and gentle slopes and adequate turning spaces for wheelchairs.
- Have emergency equipment nearby: Make floatation devices, ropes and life vests easily accessible in case of emergency. You can store these in a storage box on your walkway or dock for easy access.
The EZ Trail® Floating Walkway System From EZ Dock
EZ Dock specializes in innovative, modular solutions for your waterfront property, including the EZ Trail® floating walkway system. You can integrate this floating walkway with your existing setup, use it alongside your EZ Dock floating dock or install it on its own. This trail system features large, interconnecting sections that are easy to install and rearrange or expand as needed.
They work with the environment — not against it — by floating on top of the water and eliminating the need for digging or permanent installation. The modular sections let light penetrate the water, encouraging plant growth and enhancing the ecosystem. Its neutral color and customizable configuration make the EZ Trail® the perfect accompaniment for private properties, protected wetlands, parks, lakefronts and anywhere else with adequate water levels.
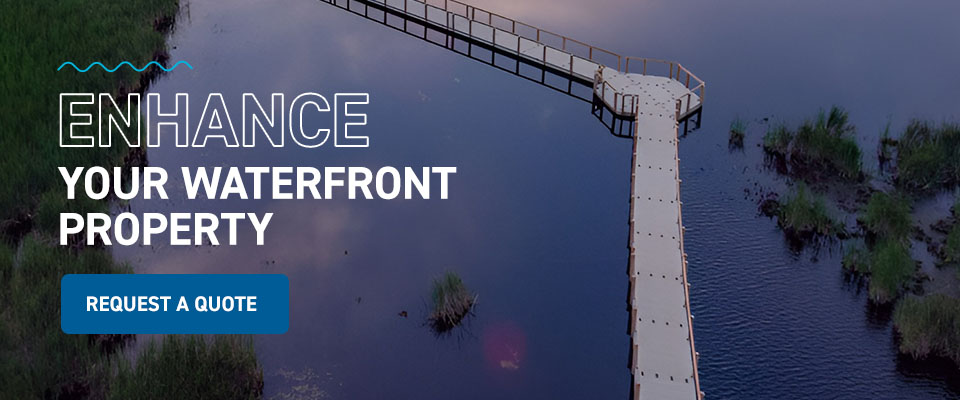
Enhance Your Waterfront Property With EZ Dock
A well-constructed floating walkway can transform your waterfront property, and EZ Dock can make it happen with our modular walkway and floating dock options. Request a quote today, or contact us to learn more about how we can bring your vision to life.

