Filters
Best Places to Mount Cameras for Kayaking
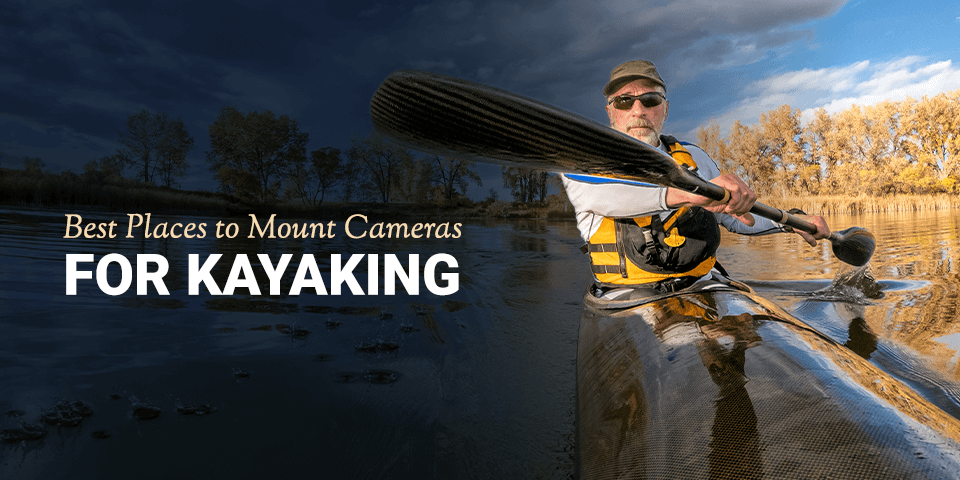
Shooting amazing video starts with knowing where to place the camera. Positioning will determine what you take photos and videos of, how easily you can reach your device to change settings, how smooth the video is, and even how well-protected your camera stays.
Read the full article or jump to a specific section:
- Where Your Kayak Camera Goes: Types of Mounts & Shots
- How to Mount a Camera on a Kayak
- Launch Your Kayak With Help From EZ Dock
Where Your Kayak Camera Goes: Types of Mounts & Shots
Here are our picks on where to mount your camera in order to capture the action:
- Kayak camera mounts: Some kayaks have gear tracks or accessory mounts that can accommodate some camera mounts. Using a kayak mount allows you to place the camera at the front or rear of the kayak and lets you easily reach it. You can capture your entire trip, from launch to return, and during your adventure, you can swivel the camera or change the video recorder’s position to capture either yourself or the scenery. You can get terrific action video shots with a camera mount while also maintaining smooth shots.
- 360-mounts: This is a type of mount that allows the camera to easily move around, so you can switch back and forth between images of yourself and images of the water and scenery.
- Clamp mounts: If your kayak does not have accessory mounts or gear tracks, you can get clamps designed to hold video cameras. These lock securely to your kayak so you can use them just like cameras in a kayak mount. They can also be a smart option if you want to position your camera somewhere other than your gear track or kayak’s built-in mount allows.
- Suction cup mounts: If you don’t have gear tracks or accessory mounts, quality suction cup mounts let you attach your camera anywhere on your kayak without causing any damage to the surface. They are also easy to change if you decide to reposition your camera mid-trip.
- Backpack mounts: Mounting your camera on the straps of your backpack lets you keep your device close so you can make adjustments. You can also get optimal audio if you’re speaking to your audience.
- Helmet mounts: These mounts fit right on your helmet and offer excellent first-person shots. You can capture all the big moments of your trip. One of the big advantages of helmet mounts is ease of shooting. You can capture videos wherever you turn your head. If you spot an eagle or an animal, you can capture it quickly and naturally just by turning to look. Helmet mounts also create a very natural “in the moment” feel, if you want viewers to feel they’re right in the kayak with you.
- Body mounts: These mounts use a harness to attach your camera to your body or an article of clothing. You can place the camera at your chest level or at your shoulder. A shoulder mount can offer some of the immediacy of a helmet mount, but with smoother movement in the shots. A chest-level camera captures everything just below your vision. With body mounts, you can continue taking footage even if you leave your kayak for a hike.
How to Mount a Camera on a Kayak
How to mount a kayak camera successfully depends on multiple factors, like the type of mount you’re using, your kayak’s size, your paddling style and what angle you’re trying to capture on film. Your mount will come with specific instructions to guide you through the process with its included hardware, including a list of any additional tools you need to get the job done.
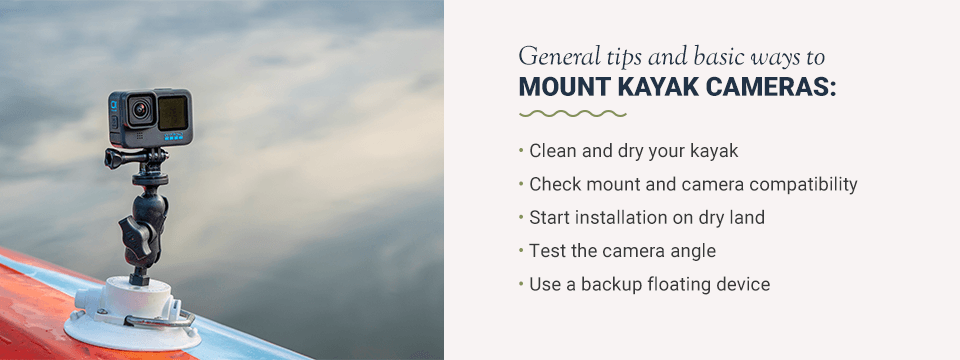
Check out these general tips and basic ways to mount kayak cameras:
- Clean and dry your kayak: Hardware, especially suction mounts, install better on clean, dry surfaces. Install your mount after taking your kayak out of seasonal storage and before your first trip on the water. You can use the opportunity to inspect other areas of the boat that might need sprucing or repairing.
- Check mount and camera compatibility: Some mounts are designed to fit with specific camera brands or models. Check that your mounting kit and camera will be compatible with one another before investing. Follow all specific instructions that come with the mounting kit.
- Start installation on dry land: While there are ways to mount kayak cameras on the water, it’s easier and less risky to do so while on dry land. A stationary kayak gives you plenty of time to choose the best spot for installation, and you don’t have to worry about dropping any tools, fasteners or even the camera in the water.
- Test the camera angle: Your filming angle is the most important part of your mount location. What are you trying to capture — your point of view from behind the paddle or the view of the scenic water behind your vessel? Your dog sitting beside you and your fishing rod mounted at the front? Test the angle while sitting in your kayak and imitate the full paddling motion — including propel, reverse and stopping motions — to make sure your mount won’t interfere with safe movement. Check the footage on the camera before making any permanent installations.
- Use a backup floating device: Invest in an attachable floating device to put on your camera in case the mount comes loose. Depending on your camera model, this small upfront cost could save you hundreds of dollars during a mishap or bad weather.
Launch Your Kayak With Help From EZ Dock
When you want to capture some great shots, every minute counts. EZ Launch® Residential solutions allow you to easily launch your kayak, so you can focus on your creative video and enjoying the water. Check out our products today!

