Filters
What to Bring on a Kayak Trip
Are you planning a kayaking trip? Whether you’re planning a quick trip on calm waters near the shore or will be paddling to a faraway destination, having a kayaking trip checklist is vital so you don’t forget any of the essentials. The conditions of your trip, along with your abilities and preferences, will determine what you add to your list.
To help you determine what things every kayaker needs, we’ve compiled an extensive kayak trip checklist for a variety of situations and needs. Use our list to help you build a specific kayaking equipment list for your next trip.
If kayaking is a new hobby, there are some must-have pieces of equipment you’ll want to include on your list of essentials. Some items may not be required for your excursion, but you may want them on hand to enhance your experience. If you need to know what to bring kayaking, this is the kayak gear guide for you. Check out the full kayaking checklist below or jump to the section you need!
- Getting Started Kayaking – Essential Kayaking Gear
- Clothes and Accessories for Kayaking
- Camping Gear for Kayaking
- Kayak Safety Equipment List
- Rescue Gear to Bring Kayaking
- Most Commonly Forgotten Items
- Get What You Need to Launch Your Kayak
Getting Started Kayaking
So what is the essential kayaking gear you need to get started? Most of these are things every kayaker needs, especially as you’re getting into the activity. Consider this your beginner kayaking essentials list — the basics to always have on hand as you journey off into the water.
1. Kayak
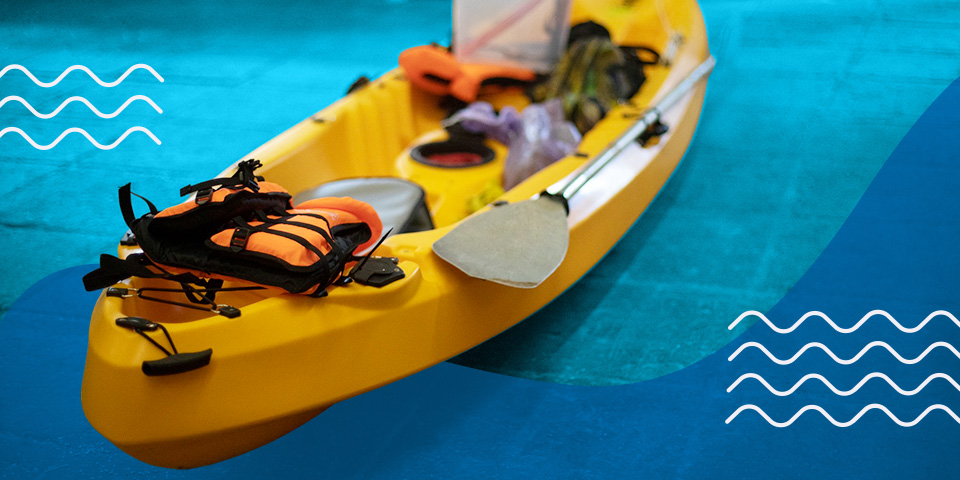
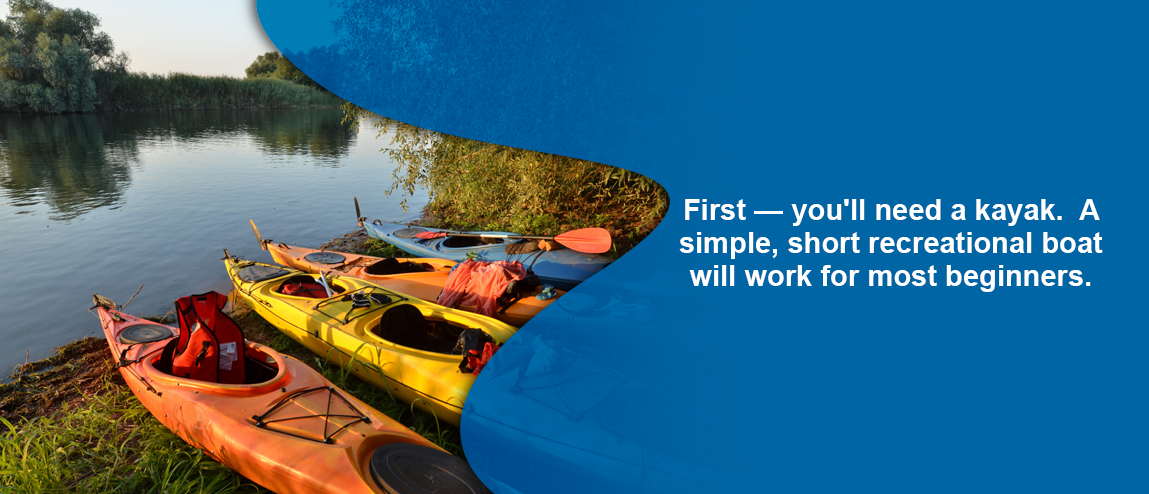
Let’s start with the obvious first — you’ll need a kayak. But what type of kayak is the right one for you? A simple, short recreational kayak will work for most beginners. Try to look for a kayak with a large cockpit, as this will make climbing in and out easier. These kayaks also tend to have back support and may include a foot pedal that can assist you in steering when you’re navigating choppy conditions.
Or you may opt for a sit-on-top kayak, which is a kayak without a cockpit. This design allows you to sit just above the water rather than down in it. Beginner kayakers often prefer sit-on-top kayaks because they’re easier to enter and exit, especially in emergencies. One downside is that you’ll need to be prepared to get a little wet, as water will drip off the paddle and onto you.
Ultimately, there are several types of kayaks, and you’ll no doubt find the perfect one for you. To learn about and compare more options, check out this kayak buying guide to find exactly what you need.
2. Buoyancy Aid
A buoyancy aid is similar to a life jacket, but it allows for more movement of your neck and arms. This is ideal for kayaking since you’ll need to move your arms quite a bit while paddling. Even strong swimmers should wear a buoyancy aid. Water can be unpredictable and dangerous, so it’s best to always keep your buoyancy aid on while you’re on the water. You’ll also want to put your buoyancy aid on while you’re on shore before you enter your kayak to ensure it’s working properly.
Wearing a buoyancy aid will help put your mind at ease so you can enjoy your excursion even more than you would’ve without one. In most states, personal flotation devices (PFD) of some kind are strongly recommended, if not required. If you’re caught without a PFD in a location where they’re required, you could be asked to leave or even receive a fine. This goes to show that buoyancy aids and other PFDs are essential for kayakers to have.
3. Paddle
Of course, paddles are another necessity for kayaking. When you decide to purchase your paddle, be sure to avoid confusing kayak paddles with canoe paddles. Kayak paddles are designed with blades on both ends and tend to be 82 inches to 102 inches long, while canoe paddles have a blade on one end and a handle on the other and are much shorter in length. The taller you are, the longer your paddle will need to be. Be sure to also consider the width of your kayak, as you’ll want a longer paddle for a wider cockpit.
Kayak paddles are available in numerous materials, including aluminum, plastic, fiberglass and carbon. Paddles with an aluminum shaft and plastic blades tend to be the most common and affordable for beginners. Lighter paddles are best, especially for long kayaking trips, as they’ll minimize fatigue and put less strain on your arms.
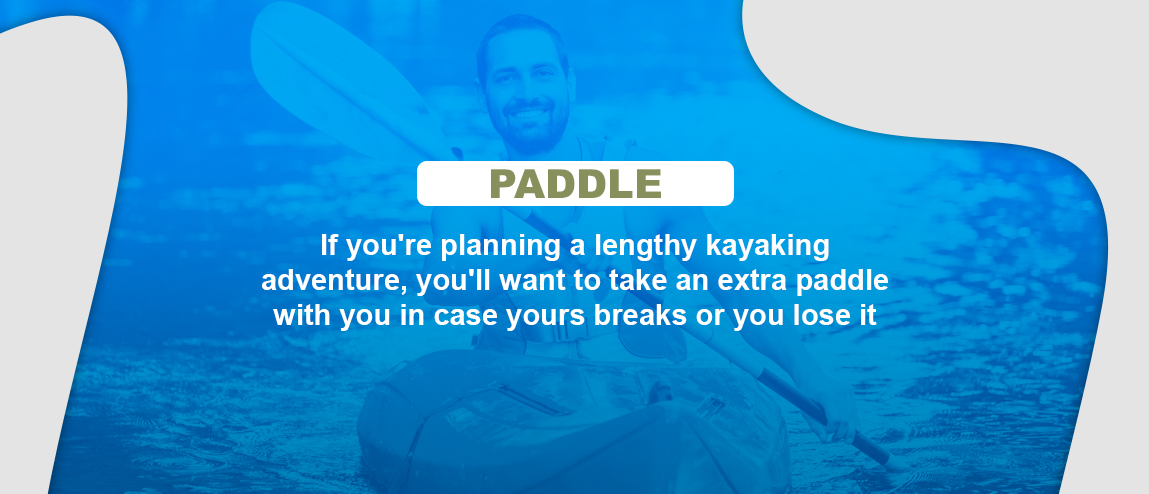
If you’re planning a lengthy kayaking adventure, you’ll want to take an extra paddle with you in case yours breaks or you lose it. Look for a spare paddle that breaks down and can be tucked down in your kayak so it’s out of the way.
4. Wetsuit/Dry Top
What should you wear for a kayaking excursion? Your choice of clothing will probably vary by weather conditions. For hot, sunny days, you may want to wear a T-shirt and shorts, especially if you’ll be paddling through flat water. Many kayakers also wear bathing suits when paddling in warm weather and water conditions.
On a cold day, you may want to wear a wetsuit or drysuit. A wetsuit is tight-fitting and is used to insulate your body temperature in cold water. They’re commonly used for scuba diving, though they are beneficial if you take a plunge while kayaking. A drysuit is a watertight suit that allows you to wear normal clothes beneath it. These tend to be more expensive than wetsuits, but the choice ultimately depends on your preferences. You may also want to consider wearing kayaking gloves.
Many kayakers choose to wear a kayaking cagoule or a dry top. Keep in mind that you will definitely get wet, and though the air might feel warm, the water could be quite cold. If you happen to fall in the water, it’s best to be prepared by dressing for the temperature of the water.
5. Wet Shoes
If you’re going kayaking, you’re going to want wet shoes. Wet shoes are made with rubber soles that grip and will help you walk on slippery surfaces. It’s best to avoid wearing flip-flops since they’re less supportive and lack adequate grip.
Other shoes can be worn while kayaking, like sneakers, though when they get wet they can quickly become soggy, heavy and uncomfortable. Sandals with straps can be suitable kayaking shoes as they’ll be more likely to stay on your feet underwater than flip-flops, though they often lack adequate grip.
Fortunately, wet shoes are affordable and worth looking into, especially for long kayak trips. Regardless of your shoe choice, ensure they’re comfortable enough to wear for long periods.
6. Dry Bag
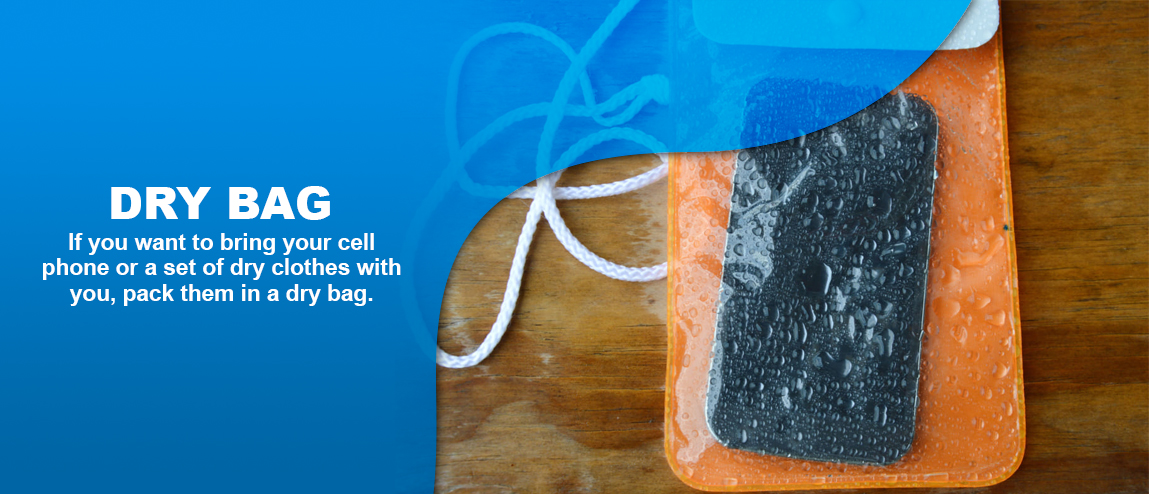
If you want to bring your cell phone, a dry set of clothes or anything else that shouldn’t get wet, pack them in a dry bag. These watertight bags will keep your belongings dry even if you capsize. Most come with a clip and a roll-top to keep items secure. Dry bags are effective storage options for anything you want to keep dry, including keys, phones, snacks and clothes.
Clothes and Accessories for Kayaking
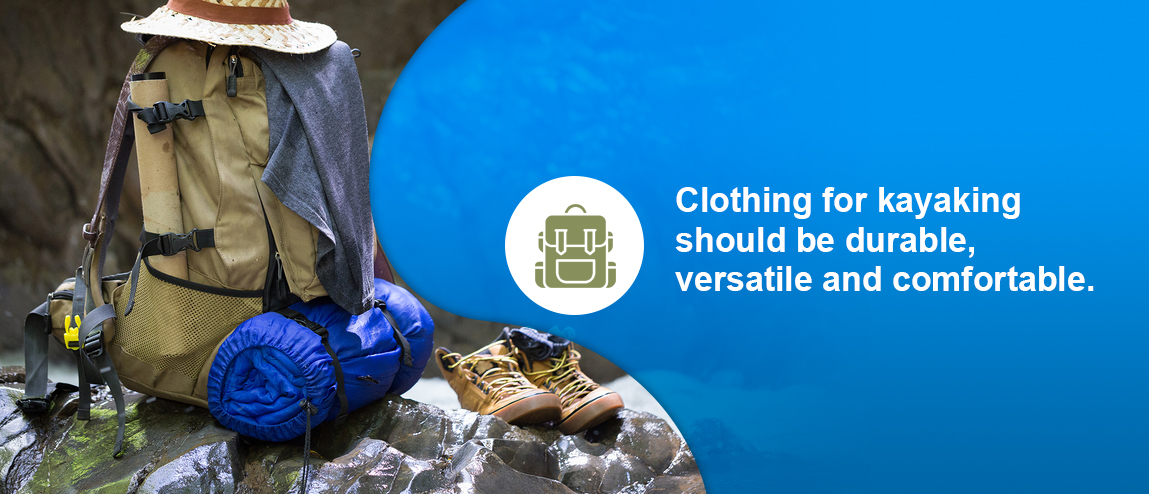
If you already have some outdoor hobbies, such as hiking, you may already have clothing that’s durable, versatile and comfortable, all of which you’ll want for kayaking. Proper kayak attire will also keep you warm in cold, wet conditions.
Keep these general tips in mind for your kayaking clothes and accessories:
- Dress in layers: Particularly for your upper body, you’ll likely want to wear more than one layer of clothing. Doing so prepares you for the cold and allows you to remove layers as it gets warmer or if you get an outer layer wet.
- Dress for water temperature: Regardless of what the air temperature is, you’ll want to dress for the temperature of the water. The water temperature can be much colder than the air temperature, and you’ll need to be prepared for that in case you capsize.
- Avoid wearing cotton: Cotton absorbs water, so if you wear cotton, you’ll stay wet and uncomfortable throughout your trip. Instead, wear quick-drying clothing like nylon or polyester. Wool may also be a good option, as it will insulate when wet.
- Wear sun protection: The sun can still be dangerous even on cloudy days, especially when you’re on the water. Opt for clothing made of UPF-rated fabrics, along with sunscreen to block UV rays reflected off the water.
- Wear fabrics that resist abrasion: To help avoid tearing up your clothes, wear fabrics that can withstand rough materials, water and sand. You may also want to avoid wearing clothing with hardware that can rust, as water can corrode metal.
- Wear comfortable clothes: You may be sitting for a long period of time, so you’ll want to wear clothes that will be comfortable the entire trip. Your arms will primarily be moving, so also consider which tops will be most comfortable for that motion.
So what should you wear specifically for warm or cold weather? We have plenty of tips and tricks to help you out.
Here are some suggestions for what you may want to wear in warm or cold conditions:
- Underwear: Many kayakers wear a swimsuit as their first layer for warm conditions. If you don’t want to wear a swimsuit, you can opt for noncotton underwear and sports bras made for outdoor activities.
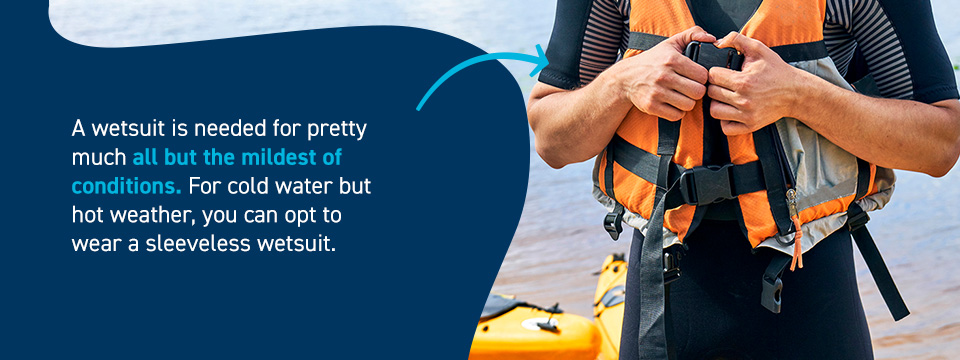
- Wetsuit: A wetsuit is needed for pretty much all but the mildest of conditions. For cold water but hot weather, you can opt to wear a sleeveless wetsuit.
- Drysuit: Wear a drysuit for colder weather and water. This waterproof material will keep you dry, and the layers underneath will keep you warm and insulated.
- Tops: For your top layer, you may want to consider wearing a rash guard, as they’re made to dry quickly and stretch, and are designed to protect against UV rays. They’re also comfortable and can be easily layered under a wetsuit or other clothing. If you don’t want to wear a rash guard, you may choose a wool or synthetic base layer instead.
- Bottoms: For your bottom layer, wear whatever is comfortable for you and will dry quickly, such as quick-dry pants or board shorts. You may also want to avoid a superthin fabric that might not withstand the frequent movement in your seat.
- Footwear: Water shoes or waterproof booties are a great option because they’re light and protect your feet from the water. Avoid shoes that slip off easily, like flip-flops. You’ll also want to avoid water sandals, which can collect sand and gravel. In colder conditions, include waterproof socks or thick, noncotton socks for warmth.
- Middle layer: If the conditions of your trip won’t require a drysuit or wetsuit, then you may want to wear a fleece jacket to keep warm. This layer can easily be taken off and tucked away if you get warm.
- Outer layer: If it’s windy or rainy, you’ll want to bring rain pants and a waterproof jacket. Or you may want to consider a paddling jacket, which keeps out water at the neck and wrists.
- Gloves: Paddling gloves can protect your hands from wind, cold and blisters.
- Hat: In colder conditions, you may want to wear a beanie to keep your head warm. You could also wear a baseball cap or bucket hat on sunny days to shield your eyes.
- Sunglasses: Wear sunglasses to protect your eyes from the bright sun and reflection off the water. If you want to prevent your glasses from sinking or floating away, bring a retainer that floats so that you won’t lose them.
The proper clothes and accessories are crucial for staying comfortable throughout your trip, especially if you get wet. It never hurts to have an extra set of clothes on a long trip!
Camping Gear for Kayaking: What to Bring
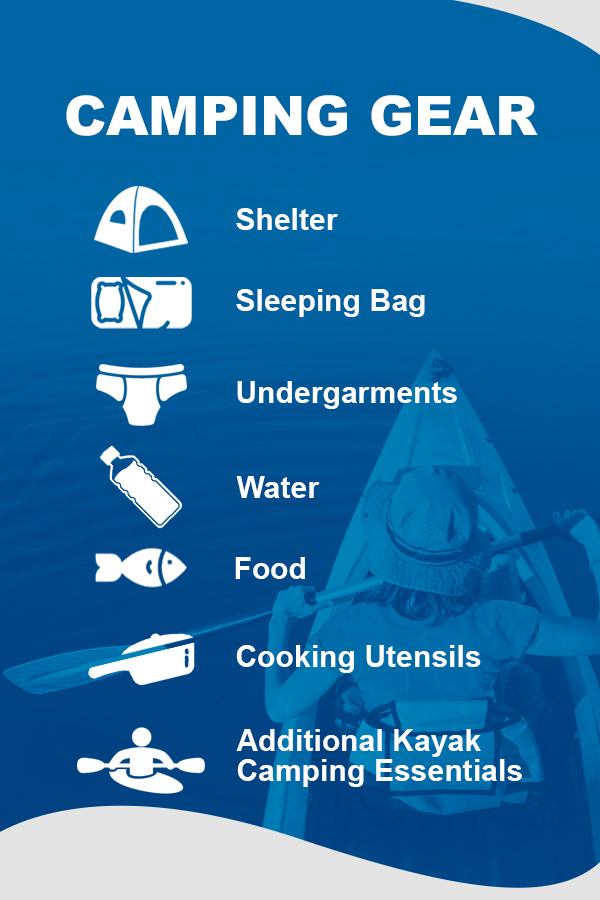
Are you planning on camping during your kayaking trip? Luckily, when you decide to go camping with a kayak, you can carry more gear than you could fit in a backpack if you were hiking. Besides the items listed above, such as a kayak and paddle, there are some items you’ll want to add to your kayak packing list, specifically for a camping trip.
1. Shelter
If you’re planning on spending the night along the river or on the banks of a lake, you’ll likely need to pack a tent for shelter. In most cases, one- or two-person tents are sufficient and easy to pack on a kayak. For a one- or two-person tent, look for the following:
- A built-in bathtub floor and a ground tarp
- A bug screen for insects and ventilation
- A tent fly that extends the length of an entire tent wall
- Minimal hardware, like poles and stakes, to help you transport it more easily
Or you can skip the tent entirely and rely on your survivalist skills to create a lean-to shelter or even use a camping hammock. You have many options depending on what you’re comfortable with and how much available space you have in your kayak.
When looking for somewhere to set up your tent, opt for a flat area with minimal rocks, roots and other debris. You may have to clear rocks or branches to create a clear area. Setting up your tent on these materials can rip your tent and be uncomfortable to lay on.
2. Sleeping Bag
Along with a shelter, you’ll also want a sleeping bag. There are numerous sleeping bags for all types of outdoor situations. Because you’ll be transporting your gear on your kayak, you’ll likely want to find something less bulky and lightweight, yet insulated for warmth. Your sleeping bag should include the following:
- A bag liner
- Head venting
- Foot venting
- Moisture-proof insulation
A sleeping bag should be versatile enough to handle warm or cool conditions. You may also want a cushioning pad to put underneath your sleeping bag. Consider carrying your kayak in a dry bag while paddling to prevent it from getting wet. The last thing you want is a wet sleeping bag when you try to go to sleep.
3. Undergarments
Your undergarments should include a good base layer, drawing perspiration away from your skin and insulating you from the cold by trapping warm air. Bring several changes of undergarments, even if they seem easy to wash.
For colder conditions, consider packing a pair of thermal underwear. If you decide to wear your thermals during the day, don’t sleep in them to prevent bringing dirt and perspiration into your sleeping bag.
4. Water
To avoid dehydration, you need to have an ample supply of water with you. The key is to drink water before you begin feeling thirsty. You may be able to collect fresh water when it rains and filter it. Otherwise, you will still have to process any water you find, so you’ll want to bring a reliable water filter.
If you bring water with you, you’ll want at least a gallon per person for every day of your trip. You can bring flexible containers, stash water bottles in your kayak or maybe bring a hydration system in your backpack. Whatever you decide, make sure you bring plenty.
5. Food to Bring on a Kayak Trip
Keep any food you bring along well-sealed and fresh. You can color-code certain meals by packing them in the same color containers or you can color-code by day. Try to pack meals that are easy to prepare and require minimal utensils and pots. Be sure to also bring individually-packaged snacks that you can have and easily access while paddling.
You may want to choose a soft-sided cooler rather than a rigid cooler, as soft-sided coolers can fit in spaces that rigid coolers cannot. If you’re camping in the winter, a cooler can also prevent your food from freezing.
6. Cooking Utensils
The best way to pack your cooking utensils is to use a stacking system and bring utensils that have multiple purposes. For example, you could purchase a three-in-one fork, knife and spoon to avoid packing all three separate utensils or use a spoon as a fork. Here are a few cooking supplies you may want to bring:
- Knife
- Spoon
- Salt
- Pepper
- Camp stove
- Fuel
- Matches or igniter
- Bowls
- Small pots
- Large pot
- Large spoon
- Cups
- Can opener
- Spatula
- Dish soap and cloth
While many cooking tools may be essential, remember that everything you bring needs to fit on your kayak. Avoid overpacking and only bring what you know you’ll use. You may also consider looking for utensils and cookware designed for camping. These tend to be more compact and lightweight, allowing you to carry them easily on your kayak.
7. Additional Kayak Camping Essentials
In addition to everything previously listed, there are a few additional tools or items that are often extremely helpful to have while kayak camping, including:
- Bowline: A bowline is for tying off your kayak, regardless of how far you are up the shoreline.
- Cockpit cover: A cockpit cover is for stowing your gear in the kayak at night to keep it dry and keep animals out.
- Repair kit: This kit should contain tools that will allow you to fix a broken rudder or do a quick patch job.
- Lantern or flashlight: You may also want to bring extra batteries in case you need fresh ones for your flashlight.
- Duct tape: Of course, you can’t go camping without having duct tape handy.
- Toilet paper and feminine products: Naturally, you’ll have to go to the bathroom while kayaking, especially on long or overnight trips. Be sure to pack toilet paper and other necessary bathroom products.
Be sure to add these items to your list before you hit the water for your kayaking and camping adventure.
Kayak Safety Equipment List
Safety should be a top priority for every kayaker, and making sure you bring the proper safety must-have kayak gear with you will put you at a much lower risk of facing danger during your outing. You already know you need a PFD, but here are a few more items you need to stay safe:
1. Flotation Bags
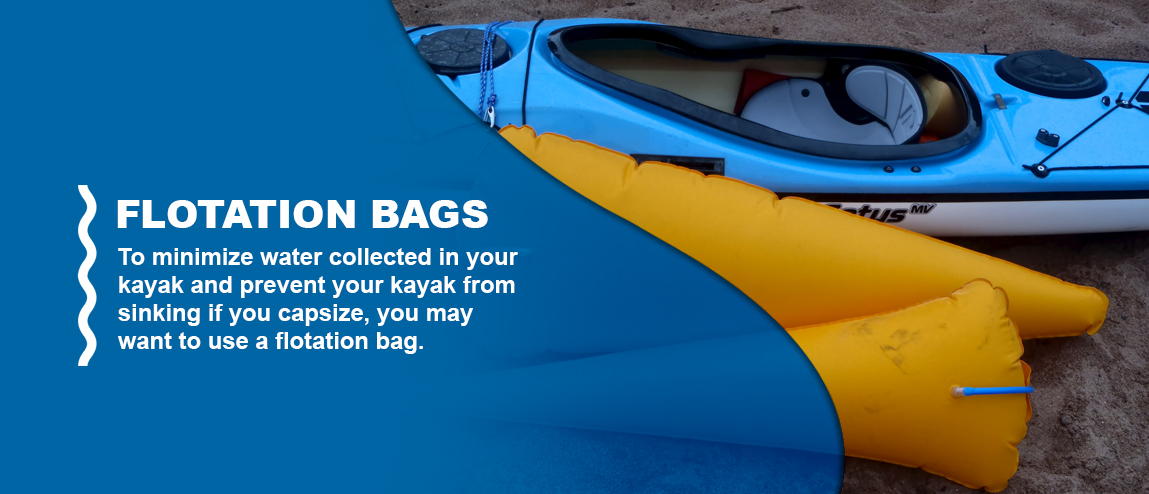
To minimize water collected in your kayak and prevent your kayak from sinking if you capsize, you may want to use a flotation bag. Flotation bags also help reduce your chances of capsizing, as they add stability to the sides of your kayak. These are generally used more often in whitewater kayaks than sea kayaks, which are already built to trap air at the stern and bow. They’re a great tool if you’re still gaining confidence in your kayak or are kayaking in moving water.
2. Knives and Multi-Tools
Though you may be wondering why a kayaker would need a knife during their trip, you may be surprised at just how handy a knife can be for kayaking safety. Make sure to purchase a kayaking knife because a normal kitchen knife won’t do. Knives made specifically for kayakers come with plastic sheaths to prevent you from accidentally injuring yourself or someone else. These knives are typically worn on your buoyancy aid where they’ll be easily accessible in an emergency.
A multi-tool is typically small and features several helpful tools like a bottle opener, a sharp edge for slicing, a serrated edge for sawing, a ruler and more. Multi-tools are ideal for kayakers, as they’re compact and can be helpful in various situations.
3. First-Aid Kits
A first-aid kit is one of the most important things every kayaker needs for any kayaking excursion. Store your kit in a waterproof bag that’s clearly marked and will be easy for you to access while you’re kayaking. You want your response time to be as fast as possible in an emergency.
Traditional first-aid kits were large and bulky, though they can be found in much smaller sizes with the same important supplies. A compact first-aid kit is ideal for kayakers because it can be easily stowed in the cockpit or somewhere easily accessible. Before each trip, restock your first-aid kit and ensure you have the essentials.
4. Helmet
As with most sports, you’ll want to wear a helmet during your kayaking trip. A helmet can protect you from getting hit in the head by your own paddle or by others paddling beside you. If you capsize, your helmet protects your head from your kayak or debris under the water. Helmets are especially important for whitewater kayaking trips since the water tends to be rougher than in other conditions.
5. Spray Deck
This waterproof skirt wraps around the kayak cockpit and protects your body and the inside of your boat from the water. For sea kayaking, you may want a nylon spray deck, as they are easily ventilated and roomy. For surf and whitewater kayaking, you may want a neoprene spray deck, as they can withstand breaking waves and keep out water when rolling. Double-check that the grab loop is not tucked in the kayak when wearing the spray deck. This loop should be on the outside so you can pull it if you capsize.
Rescue Gear to Bring Kayaking
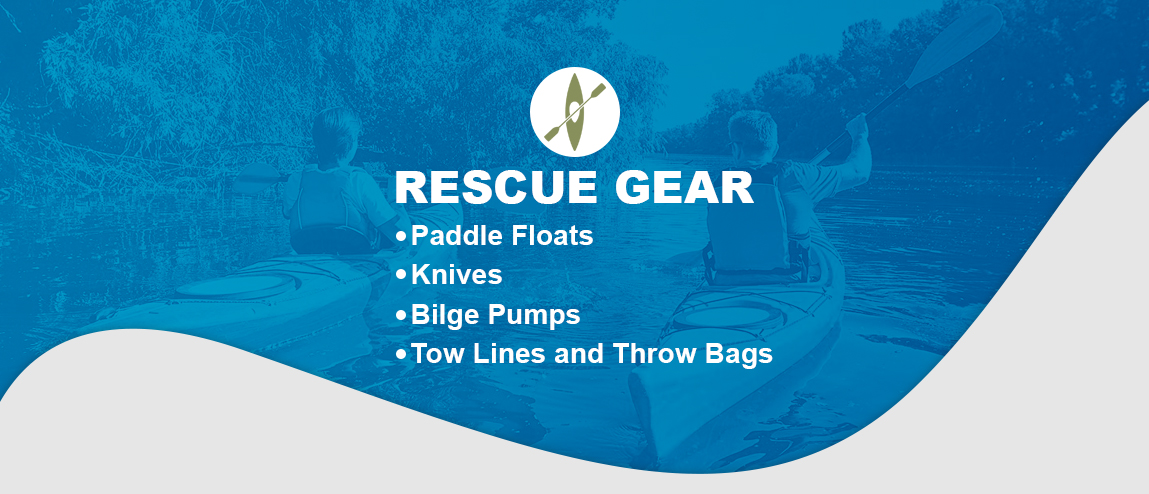
No matter how prepared you are, there’s still a chance you’ll meet unfavorable conditions that could result in you or another kayaker needing help. Be sure to pack and practice using the following kayaking rescue equipment:
1. Paddle Floats
A paddle float is your best chance of getting back into your kayak alone after a capsize. This paddle float attaches to the blade of your paddle and stabilizes your kayak for you to reenter. You can get either a foam or an inflatable paddle float. A foam paddle float allows for quick assembly and potentially less time in the water, whereas an inflatable paddle float takes longer to set up but tends to be better for flotation and may be the preferred choice for larger kayakers.
2. Rope Bag
If you’re paddling without a group or an instructor, you’ll want to bring a rope bag as part of your kayaking kit. This bag has rope tucked loosely inside so you can rescue another kayaker. While you hold one end of the rope, you’ll throw the bag toward the kayaker who needs help. You can also throw the rope bag to a rescuer if you’re stuck to help them rescue you.
Ropes are generally good to have when kayaking, as they serve several purposes. In addition to using rope to rescue yourself or other kayakers, you may use rope to tow another kayak or tie down your kayak while docked or on shore.
3. Bilge Pumps
This pump allows you to remove water that collects in your kayak after you’ve reentered. A hand pump tends to be the most popular option, as it’s quite affordable and requires minimal effort. It’s also designed with a foam collar so it won’t sink if you accidentally drop it overboard. Sponges are also commonly used to remove water from your cockpit. They can help absorb any residual water left after pumping and can easily be stored away.
4. Leashes
Leashes are elastic tethers that can be attached to your loose belongings to ensure they stay nearby if your kayak capsizes or they’re dropped overboard. For example, paddle leashes are commonly used because they prevent your paddle from floating away if you drop it or lose hold of it when your kayak tips. Paddle leashes are extremely beneficial because if you lose your paddle you’ll be stranded or unable to continue your trip.
5. WHISTLE
Whistles are one of the most effective ways to signal to others while on the water, especially when you or others need help. Windy conditions are common on and around bodies of water, which can carry verbal shouts in the wrong direction or mask them altogether, making it difficult or impossible to call out to others for help. Whistles create short, shrill blasts, which can be easier to hear over wind and waves. Carrying a whistle can help signal others in the area if you get stranded or hurt.
6. GPS TRACKER OR PLM
If you’re kayaking on big bodies of water or in a remote location, you may want to bring a GPS tracking device or personal locator beacon (PLB). These devices allow rescuers to narrow down the area or pinpoint your location where you may be lost or stranded. Similarly, long-range communication devices like a VFH radio would allow you to communicate with others back on shore to call for help. Carrying these devices highly increases your chances of finding help if you’re without cellphone service.
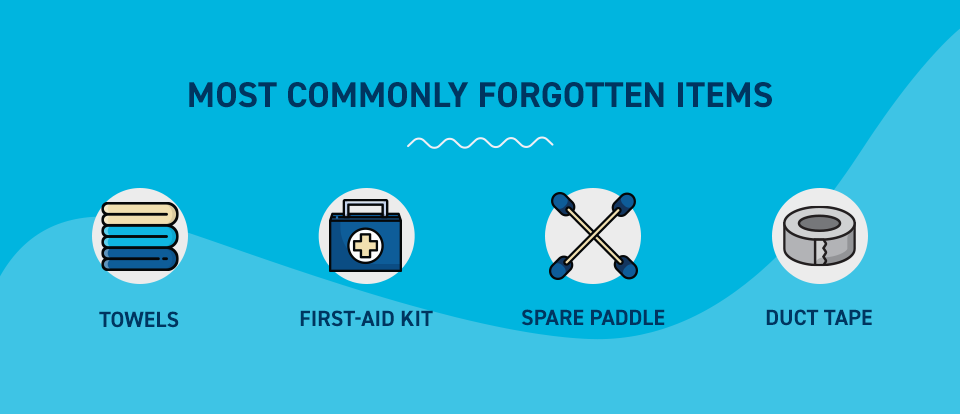
MOST COMMONLY FORGOTTEN ITEMS
Whether you’re going out for a quick afternoon paddle or a weekend-long kayaking adventure, you may forget a few items. While the basics like your kayak, paddle and PFD are typically easy for most people to remember, some items are more commonly forgotten. Consider the impact of forgetting these kayaking items before you leave for your trip.
WHISTLE
As mentioned above, kayakers can use whistles when they’re lost to signal for and attract help. Whistles create louder noise than your voice may be able to, making it more likely for someone to hear the whistle and come to help. Forgetting a whistle when kayaking can be risky, as your voice may not travel as far as the whistle’s shrill sound. Attach your whistle to your PFD so it’s always within reach while you’re on the water and automatically packed when you grab your life jacket.
TOWELS
Many people forget to bring towels when kayaking. While you may not plan on getting in the water, there is always a chance of getting wet. Water splashing into your kayak can get your clothes wet. You also may want a towel to dry your hands before using your phone or camera. Forgetting a towel while out on the water makes staying dry difficult. Remember to pack at least a hand towel in one of your dry bags so you have something to dry off with.
FIRST-AID KIT
First-aid kits are essential for any outdoors trip, though many kayakers forget to bring one. Without a first-aid kit, you’d be unable to treat aches, cuts, scrapes and other small injuries. For example, if you get a headache or cut your hand on a branch, you’d be without medicine or bandaids. Purchase or make a small, lightweight first-aid kit that can easily be packed in one of your bags so it’s always onboard.
SPARE PADDLE
Most kayakers remember their paddles because they wouldn’t get very far without them. However, it’s much more common for kayakers to forget their spare paddles. While forgetting a spare paddle won’t ruin your trip, you’ll have to be extra careful with the one you have. For example, if you damage or lose your paddle, you won’t have a backup. Remembering your spare paddle is especially important for longer kayaking trips.
DUCT TAPE
Duct tape is a great tool to have in a pinch. With strong adhesive properties, duct tape can help you temporarily patch holes in your kayak or tape together a broken paddle. Forgetting to bring duct tape on your kayaking trip won’t ruin the trip, though if something is damaged far from the car, you may struggle. Having duct tape in your kayak is often something you may not think you need until you wish you had it.
OTHER EASILY FORGOTTEN ITEMS
Other commonly forgotten items include sunscreen, extra water, outer layers of clothes, licenses and permits and other things that are easy to walk out of the house without. While these things may seem small, they’re significant when out on the water. For example, you’re more exposed to UV rays on the water, so forgetting sunscreen increases your risk of sunburn. Additional layers of clothes can keep you warm when you get chilly, and having your licenses and permits helps prevent the possibility of getting in trouble with a warden.
Get What You Need to Launch Your Kayak
Now that you have a thorough kayak trip checklist, it’s time to jump in the water! But how and where do you launch a kayak?
The quickest, easiest way to launch a kayak from a dock is with EZ Launch® Residential from EZ Dock. At EZ Dock, we offer a floating dock design that makes getting in and launching your kayak a fast and simple process. With its wide entry centers and built-in paddle notches, the EZ Launch® Residential is great for beginners and seasoned veterans alike. Its innovative design creates greater stability and prevents wet feet. This one-piece docking section attaches to other EZ Dock sections or traditional docks, so it can be installed nearly anywhere.
Contact EZ Dock today to learn more about our EZ Launch® Residential and check an item off your must-have kayak gear list today!

