Filters
What to Do If Your Kayak Has Capsized
In recent years, kayaking has grown as a hobby and sport in many parts of the world. From kayak fishing to whitewater kayaking, there are numerous ways to get out on lakes, rivers and even the ocean with a kayak. If you’re planning a kayaking trip, you’ll want to prepare in every way possible. While you can’t always avoid capsizing, knowing what to do if it happens ensures you stay safe and can recover your belongings.
Find out what to do if your kayak capsizes and how you can prepare for this situation.
Read the full article or jump to a specific section:
- Why Do Kayaks Capsize
- How to Prevent Your Kayak From Capsizing
- What to Do If Your Kayak Capsizes
- How to Prepare for a Capsized Kayak
Why Do Kayaks Capsize?
It can be scary when your kayak capsizes, especially if you’re still getting comfortable with your boat. Knowing why kayaks capsize can help you prevent it from happening while you’re out on the water. The first thing to know is that kayaks don’t capsize easily. When a kayak flips, it’s often because other factors are working against its design. Here are a few variables that can increase the likelihood of your kayak capsizing.
- Poor boat control: One of the most significant reasons your kayak can capsize is a lack of control. It’s crucial to understand how your movements and paddle strokes affect your kayak’s balance in the water. Without this understanding, you’ll find it challenging to control your kayak, especially with sudden movements and changing direction. For example, if you’re traveling downstream and suddenly stick your paddle in the water to turn toward shore without balancing yourself, you could easily capsize your kayak.
- Rough waters: Choppy water is another factor that often causes kayaks to capsize. It’s much harder to flip a kayak on a quiet lake, pond or river because the water is smoother. On the other hand, when kayaking in rapid or choppy waters, your chance of capsizing increases because the water can push and pull you in unexpected directions. For example, when kayaking in the ocean, choppy waves can cause your kayak to tip if they hit you at the right angle.
- Type of kayak: The kind of kayak you use can also be a factor in capsizing. Wide, heavy kayaks like fishing or recreational kayaks offer more stability in the water and will be significantly harder to flip. Smaller, lighter kayaks have less balance because they sit higher in the water, making them easier to capsize, especially in rough waters.
While most kayaks are tricky to flip, it’s crucial to be confident in your boat’s design and comfortable with its movements.
How to Prevent Your Kayak From Capsizing
Unless you’re intentionally flipping your kayak, chances are that you want to prevent capsizing at all costs. Luckily, it’s easier to do so than you might think. Follow these tips next time you’re out on the water.
Use a Wide Kayak
When preventing capsizing, start with the boat you’re using. As we mentioned earlier, wider kayaks offer more stability in the water, making them excellent options for preventing capsizing. If you’re new to kayaking, it’s best to start with a wider kayak until you get comfortable with it. Wide sit-on-top kayaks are ideal for learning because they’re steadier than some other options. As you gain kayaking experience, you may still prefer wider kayaks!
Keep Your Movements Low and Centered
Balancing your kayak is tricky, and moving while doing so is even more of a challenge. Any movements can rock your kayak, causing you to lean and potentially lose your balance. While the simple solution is to limit your motions while in your kayak, this may be challenging to do. For example, if you have drinks or food in your storage compartment, you’ll likely either have to turn around or lean forward to reach them.
If you have to move while in your kayak, keep all movements low and centered to prevent excessive rocking. Try to keep your shoulders within the boat’s lengthwise centerline to minimize unsteadiness.
Evenly Distribute Weight
Like balancing yourself, evenly distributing all the weight in your kayak helps the boat sit more level in the water. Ensure you’re sitting in the middle of your seat with your arms and legs evenly spread out. You’ll likely have gear or other belongings in your kayak with you. Before entering the kayak, evenly distribute your belongings from front to back.
If one end or side carries more weight, it will cause your kayak to lean in that direction and make it easier for it to tip over.
Keep Paddling
To help you visualize this tip, think about riding a bike. It’s much easier to stay upright while you’re moving, and the same concept applies to kayaking. This tip is simple — to avoid tipping, keep paddling. That doesn’t mean you’ll immediately tip over if you stop moving. You don’t want to paddle so hard that you use all your energy and miss the sights around you. However, a few paddle strokes to maintain your cruising momentum can help you feel more stable on the water.
Paddle Perpendicular to Waves
If you’re kayaking in the ocean or another body of water where waves may be present, it’s best to paddle perpendicular to the waves rather than parallel to them. Paddling head-on or at an angle into the waves prevents them from hitting the sides of your kayak and rocking you to the point of capsizing. If you’re still new to kayaking, it’s probably best to avoid waves altogether until you build skills and confidence in your kayak.
Brace Your Kayak Using the Paddle
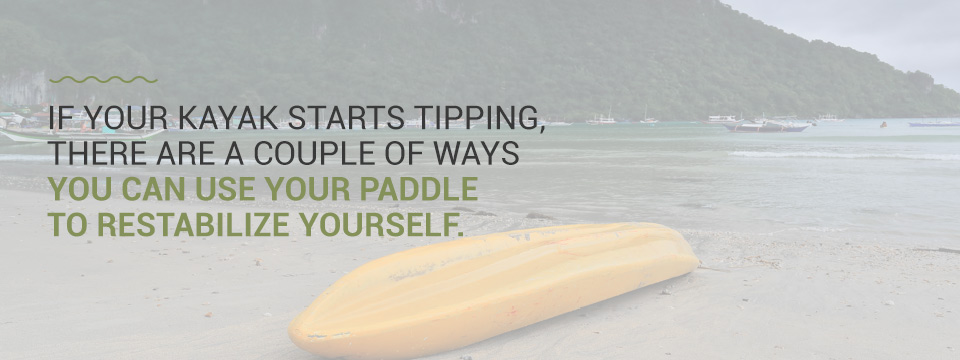
If your kayak starts tipping, there are a couple of ways you can use your paddle to restabilize yourself. Briefly brace yourself against the water so you can push off against it and give yourself momentum to snap your hips in the opposite direction to bring yourself upright again.
- Low brace: Push the paddle down on the water as you’re tipping.
- High brace: Pull the paddle down on the water as you’re tipping.
The most notable difference between these two braces is how you hold the paddle, which determines whether you’ll use the high or low brace. In both cases, remember to look down and lean into the brace while quickly snapping your hips in the opposite direction to return to an upright position.
What to Do If Your Kayak Capsizes
Despite your best efforts, sometimes you might get a little wet! While preventive measures surely help, there’s still always a chance that your kayak could capsize, which could be dangerous. To stay safe and resume your kayaking adventure, you need to know what to do if you capsize and how to uncapsize a kayak. Remember these tips to guide your decisions after your kayak has flipped.
Stay Calm
Crucially, remember to stay calm. Panicking typically only makes the situation worse. Remember, your kayak floats, and it’s possible to reenter it. Keeping your wits about you will help you take the correct steps to safely continue your adventure.
Always Wear a Personal Flotation Device
It’s a best practice to wear personal flotation devices when kayaking, especially if you capsize. Life jackets keep you afloat when you enter the water. When your kayak capsizes, a PFD can be lifesaving. It will help you float with your kayak instead of wasting energy trying to tread water.
Flip Your Kayak Upright
Depending on the depth of the water you’re in, you may be unable to flip your kayak back into the upright position. After your kayak flips, it’s likely still mostly full of air, so attempting to flip it in deep water could allow it to fill up, making it harder to push back to shore. If your kayak capsizes, swimming it back to shore or shallower water lets you flip it back over and drain any water out. Swimming it back to shore also gives you an easy way to reenter your kayak.
If you’re too far away and getting to shore isn’t an option, you may need to flip your kayak in deep water. There are a couple of ways you can do this, depending on your strength. Some people may be able to float on one side of the kayak to push one side up and over to turn it. Another option is to get under the kayak to grab the rims of the cockpit and push it over.
You may consider adding a small portable hand pump to your kayaking gear. This piece of equipment can help you drain water from your kayak without making a trip back to shore.
Reenter Kayak
Once you get your kayak into the upright position, it’s time to reenter it and continue on your way. How you reenter your kayak will depend on where you flipped it over. For example, if you swam back to shore or shallow water, you can step back into your kayak and paddle on. However, if you’re in deeper water, reentering your kayak can be a bit more challenging.
Climbing back in from one of the sides can easily tip the kayak back upside down again, so it’s best to reach over the cockpit and hold onto the other side while pulling yourself up. Once you pull yourself up onto the kayak, you’ll need to get repositioned in a seated position. Remember to move slowly to keep your balance. Sit-on-top kayaks are often easier to reenter because there is no cockpit.
Signal for Help If Necessary
If you’re kayaking with others, they’ll be nearby to help if you capsize. However, if you’re alone and are struggling to flip your kayak or your paddle floated downstream without you, you may need to signal for help.
It’s wise to carry a whistle in case of situations like this. If you have one, blow it three short times, pause and blow three more to signal other boaters or people in the area. If you don’t have a whistle, wave your arms or paddle high in the air to alert other nearby boaters that you need help, so they can come to you.
How to Prepare for a Capsized Kayak
While knowing what to do if your kayak capsizes is the first step, the second step is your ability to handle the situation well. Here are three ways you can prepare yourself for a capsized kayak.
1. Take Beginner Classes
Believe it or not, there are classes for everything! If you’re just getting into kayaking or are looking to get more comfortable with the sport, you might consider taking a beginner’s class. Course instructors are experienced kayakers who can give you tips for any situation you might find yourself in. They’ll teach you how to roll, flip and reenter your kayak.
2. Practice Techniques
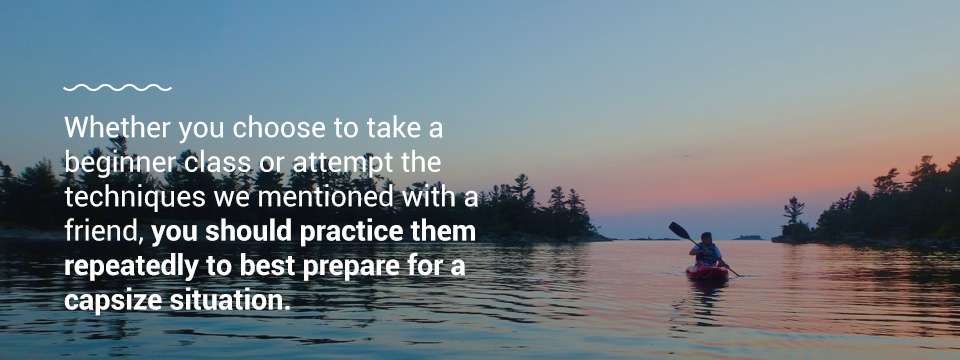
Whether you choose to take a beginner class or attempt the techniques we mentioned with a friend, you should practice them repeatedly to best prepare for a capsize situation. Rehearse rolling your kayak in a swimming pool or calm, shallow area of water. It’s best to have a friend with you to help if need be. Practicing leaning in your kayak, bracing yourself and reentering will make a real-world capsize situation much less stressful because you already know what to do and how to do it.
3. Learn the Wet Exit
The wet exit is a technique for leaving your kayak if you’re still in the cockpit while your kayak is upside down. You’ll want to ensure nothing is holding you to the kayak, then pull your legs out of the cockpit and push away. Add this technique to your practice sessions so you can exit your kayak from underwater.
Enter and Exit Your Kayak With EZ Dock
Whether you’re reentering your kayak after it capsized or coming back from a relaxing day on the water, EZ Dock can make your kayaking experience more pleasant. Our floating docks and launches take the hassle out of entering and exiting your kayak. When getting into or out of your kayak along the shore, it can be challenging to find the balance to sit down. Our EZ Launch® Residential provides a stable place to launch and store your kayak.
For more information about EZ Dock products, contact our team today.


